This post will cover how to dual boot Windows 8 RTM and Windows 7. Before trying this procedure, be sure to back up your data in case something goes wrong.
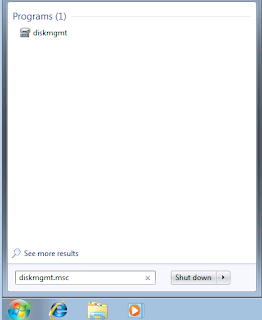
To start out, I have a Windows 7 installation on a 120 GB disk. My Windows 7 files and data are only taking 20 GB or so and I want to create a partition to install Windows 8 using 50 GB (Note that the minimum recommended size is 20 GB, but I usually prefer 40-50GB). First, access the disk manager using mmc or by typing the following
- Windows key + R to access the run prompt
- Enter "diskmgmt.msc" and press enter
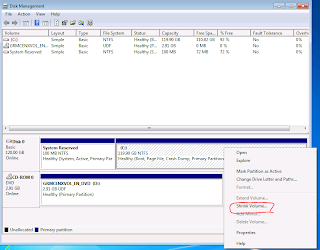
Once you are in disk manager, right click the partition that belongs to Windows 7 and click "Shrink"
After you click shrink, specify 50 GB or whatever size you actually want (20 GB is the recommended minimum). Note that 50 GB = 51200 MB.
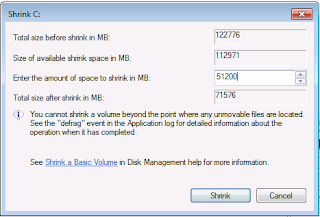
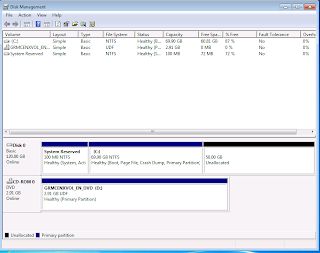
Click Shrink to start the shrinkoperation on the volume
Now that we have space for a 50 GB volume, restart and boot off of the Windows 8 DVD or Bootable USB Media.
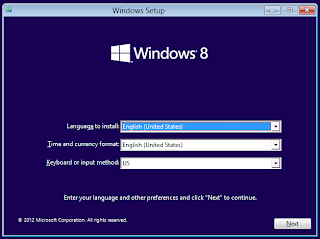
We go through the installation procedure as follows. Select your regional settings and click next,
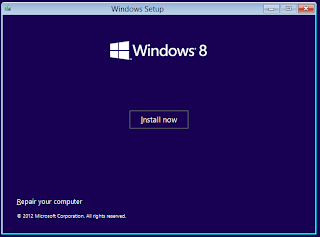
Then click "Install now"
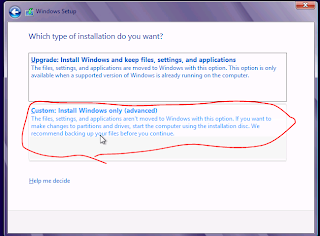
Accept the EULA and start a Custom Installation,
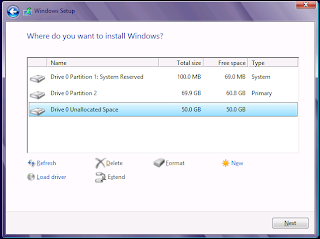
Select the 50 GB of unallocated space that we created and click next
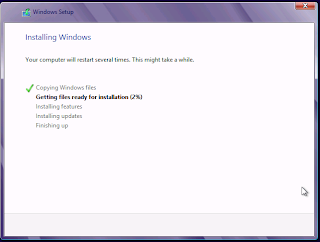
Wait for the install to complete (or grab a cup of coffee or a donut)...
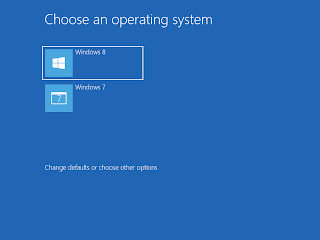
After the reboot, the boot loader should show the older Windows release and the new Windows 8 option that we just installed.
You might also like
Navigating the Windows 8 User Interface
How to Create USB Windows 8 Installation Media (also works for Windows Server 2012, Windows 7, Windows Server 2008 R2)
No comments:
Post a Comment